In my first post I refer to a previous project on hiatus: the Pi Tablet. All my parts are now in so follow raspiblet.blogspot.com for news on my new project!
Also be sure to checkout raspelec.blogspot.com for a guid on how to make a $50 smart entertainment system.
Monday, January 20, 2014
Overheating
I originally mounted my Raspberry Pi to my cabinet; however, the wood acted as an insulator and caused my Pi to overheat. This caused sound and audio glitches as well as significant lag. So, I unmounted my Pi and it's running healthy again.
Moral of the story, make sure the Pi has some ventilation.
Moral of the story, make sure the Pi has some ventilation.
Audio problems
To enable audio I had to go into "sudo raspi-config" then navigate to the audio option. Under this tool I selected "force through 3.5mm jack", for this enabled me to hear all music and audio through my computer speaker.
SNES issues
SNES9x emulator wouldn't read my joystick movements, so after a little Googling I, under accessories, opened "File Manager" went to "/home/pi/emulators/pisnes" and open the "snes9x.cfg" file. Scolled down to #joystick axis. Changed "JA_LR=0" and "JA_UD=1" to "JA_LR=2" and "JA_UD=3". Changing these values allowed me to use my joystick in SNES.
Controller issues
I had Joystick problems with some emulators, so to overcome this enabled the joystick in the advmenu.rc file. To do this open advmenu.rc ("sudo nano .advance/advmenu.rc") and change 'device_joystick from' 'none' to 'auto'. Then 'ctrl X' to exit, 'Y' to save, and 'Enter' to return to command line.
Building the Cabinet
Arguably can be the best or worst part of the project, depending on your handyman capabilities of course. The arcade cabinet depends solely on the builder's preference.
For various build pans go here.
For pre-built kits go here.
I decided to with the Verticade by Koenigs.
However, I modified the cabinet by using 0.5" MDF board for the entire project and by disregarding any of the features that were designed for a PC based arcade machine since I am only using a raspberry pi.
Always make sure you have the right equipment for the job! I spent 7 hours cutting my cabinet pieces with a knife because my saw wouldn't cut properly!
Here is my version of the Verticade!
 |
| Constructing the first side with my finished cut pieces of MDF board I used small wooden blocks to screw into and fasten the multiple pieces together. |
 |
| 4 sides later... |
 |
| Side view |
 |
| Done the construction! |
 |
| First coat of black spray paint |
 |
| Second coat |
.jpg) |
| Finished cabinet! |
Sunday, January 19, 2014
Building The Controller Board
So, my buttons, jamma board, joystick and wire harness came in: time to make something cool! The wiring diagram turned out to be incorrect. It was perfectly inverse to what it should have been.
 |
| What I was told (Lies and deceit) |
 |
| The real button layout |
Time to get wiring! Follow here for details on how to make your arcade controller board and configure it to the Pi.
I followed this great tutorial and built myself a testing arcade board made out of cardboard and duct tape.
I followed this great tutorial and built myself a testing arcade board made out of cardboard and duct tape.
 |
| Controller board- alpha |
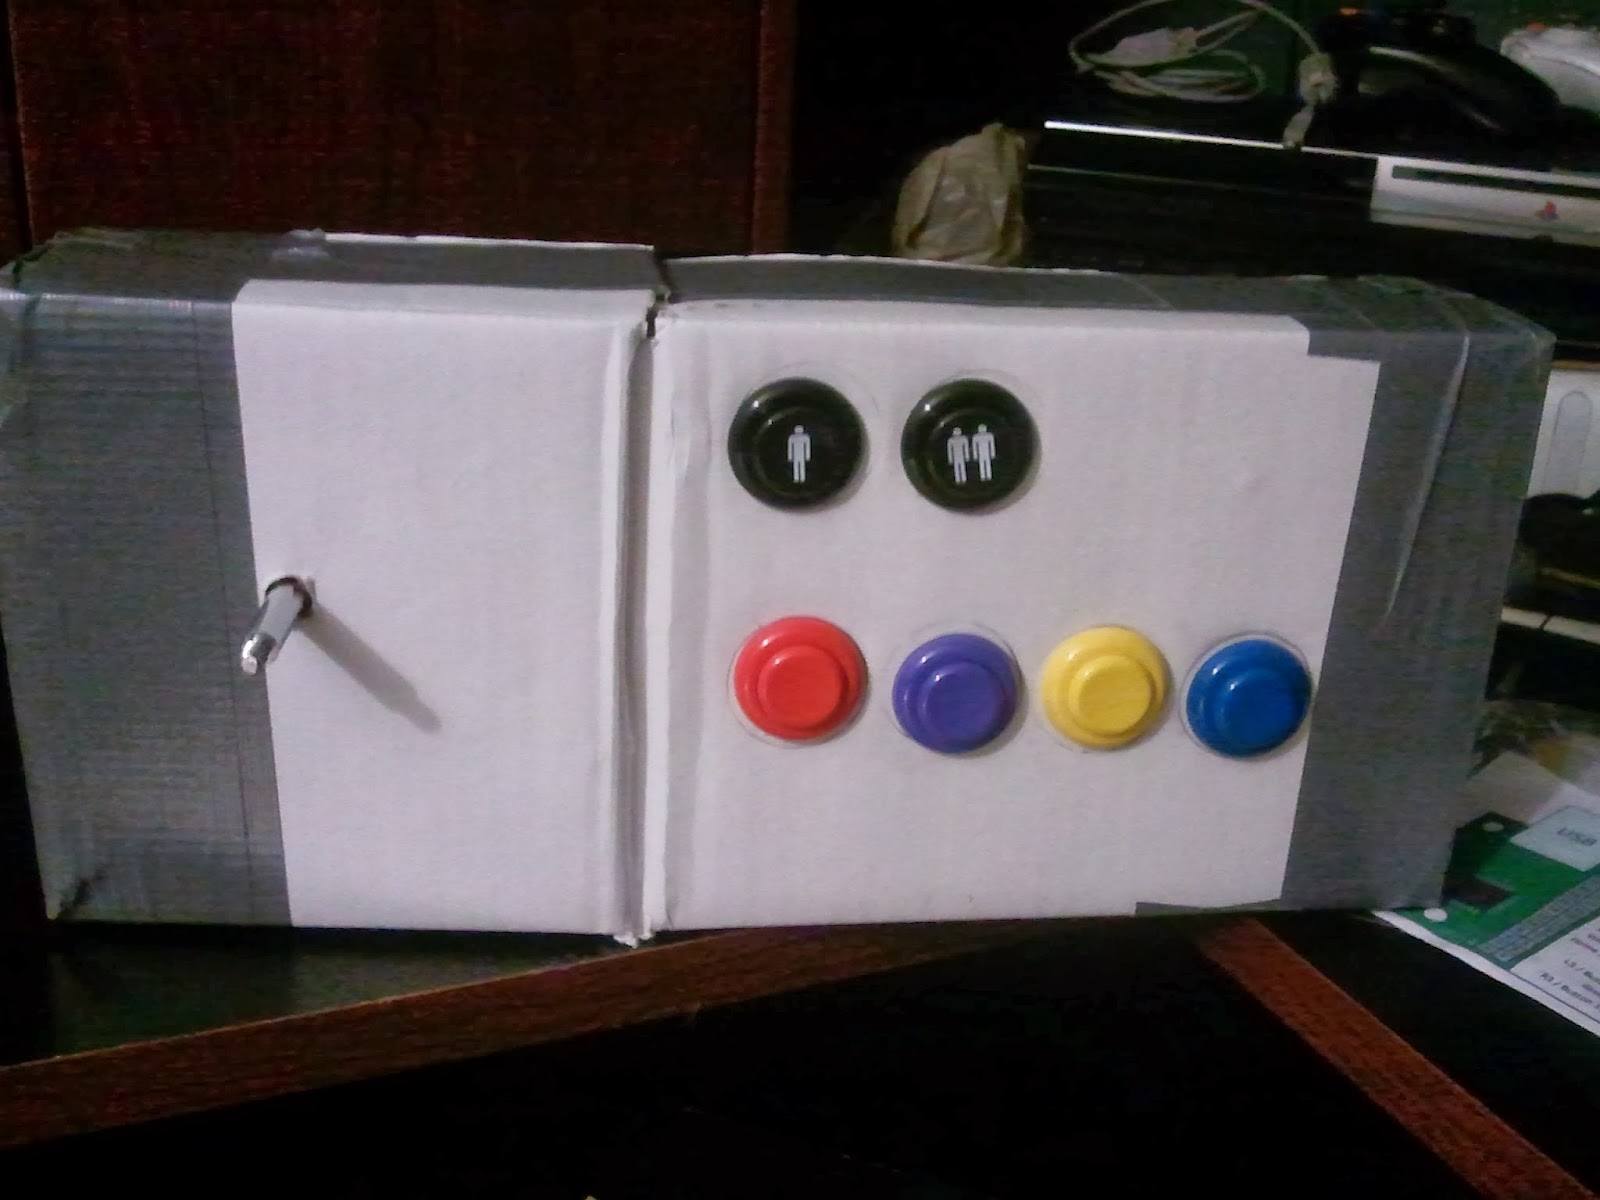 |
| Controller board- beta |
 |
| My professional wiring job |
 |
| MDF board cut, drilled and applied first coat of paint. |
 |
| My completed controller board |
Welcome!
I have set out to build a Raspberry Pi arcade machine for my Gr. 12 Computer Engineering class. However, this is in fact my plan B; my plan A being a Raspberry Pi powered tablet. I had to abandon that project because my touchscreen hardware never arrived. Nevertheless, I am really excited to be a owner of a retro gaming system.
This arcade machine will be powered by the Raspberry Pi and will run PiMAME as the operating system. PiMAME is a multiple arcade emulator built on the Raspbian Wheezy OS. I will construct my own joy stick controller board with parts from Paradise Arcade Shop. The delicious Raspberry Pi will be encased with a 19" HD monitor in a arcade cabinet constructed from MDF board. Upon constructing this cabinet I'll paint it flat black and print off some decals to give it a professional look.
I aim to use two emulators, MAME and SNES which are both included in PiMAME.
Without further adieu, let's Get Started!
Subscribe to:
Posts (Atom)